
Stretched tyres are the fashion when it comes to Hellaflush and the Stance movement. The roots, however, are from the german scene and drift world Thats why we will discuss this topic today. What is the best way to stretch your tyres, what are the advantages and disadvantages and what to pay attention to?
As mentioned above, stretched tyres have its origin from the German scene and the drift world. The germans started it because the thread had to be within the wheel arch. As they still wanted wide wheels they stretched the tyres so the tread was still in the wheel arch and their car still legal. The drifters started it because the thinner tyres were cheaper, and less money spent means more time to drift.
Having stretched tyres has several advantages. As mentioned above you can save some money with it. Also you will have less sidewall flex, which means you are more stable when going sideways. Also, you will have less grip in comparison to running regular tyres, which will be an advantage for starting drifters. Also, there are a lot of people that just like the look.

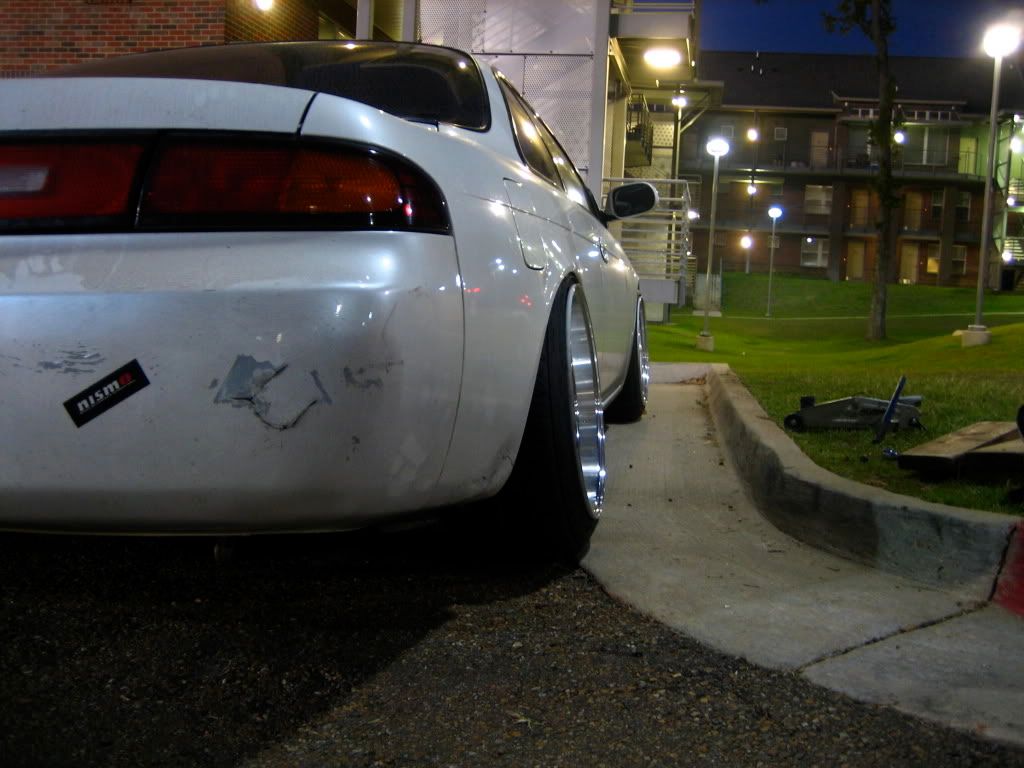
Having stretched tyres also has its disadvantages. According to a lot of people it is more dangerous to drive stretched tyres. However, tests have indicated that there is no difference, between regular fitting tyres and stretched ones, as long as you do not over do it, as the above picture. In addition there are a lot of tyre stores that do not want to stretch tyres and APK stations that will say you have failed the APK test. Also, if the local police has a bad day you might recieve a fine from them.
A lot of people seem to ask which tyres are the best. In case of drifting, the cheapest ones can be used best. If your budget is a bit higher, then these tyres are the easiest to stretch:
toyo t1-s
dunlop sp9000
dunlop sp8080e
falken fk451
The easiest wat to stretch a tyre is with fire, but we will continue more about that anoter time. Thanks to ura86 we have a nice how to that can be applied by anyone.

If you have managed to get the tyres on your wheels and it looks like this, then you can pull your tyres with only a bicycle tyre, a bit of wd-40 and some jack stands. Make sure you will buy a bicycle tyre that is a bit smaller than the wheel itself. For an 18 inch wheel you can best take a 16 inch tyre.

We start by putting the tyre on the jacks and applying pressure to pull the tyre to one side. (you can do this by standing on it, but that is just an example.) Then we will turn the wheel and spray some wd40 on the tyre(NOT ON THE WHEEL ITSELF.)

Then we will put the bicycle tyre around it. Make sure it is fitted so no air can escape underneath it.

After inflating the bicycle tyre you should have a nice seal between both tyres.

Here comes the tricky bit; inflating the tyre. Make sure you pay attention to the noise that is coming from inside the tire. If you hear a high pitched noise but not too loud, then is inflating. If you hear like a pshhhhhhhhhhhhhhh sound then you have a leak somewhere. Always make sure that the bottom part of the tire (the one facing the jack stands) is still somewhat pressed. If not, you will have to apply some pressure to one side and try our trick with the tube on the other side. Watch your fingers when you are inflating the tire. Anyways....
If you see the tube getting bigger on one side, is because that side is getting more air than all the others meaning that the tire is pushing it out or is starting to slide off with little expansion from the tire. Now if that happens, sometimes you have to kind of hold it in there because the tire (while expanding) will push the tube out and all the compressed air will escape since the bead hasn't touched the bead seat yet. Therefore, not sealing.

If you are finished you can pull out the bicycle tyre and enjoy your final result.

